How to create a flow
To start a new process, click the Create flow button in the top right corner of the flow overview.
Note: The features available to you depend on your user permissions. If you lack access to view or edit flows, please contact your administrator or reach out to our support team.
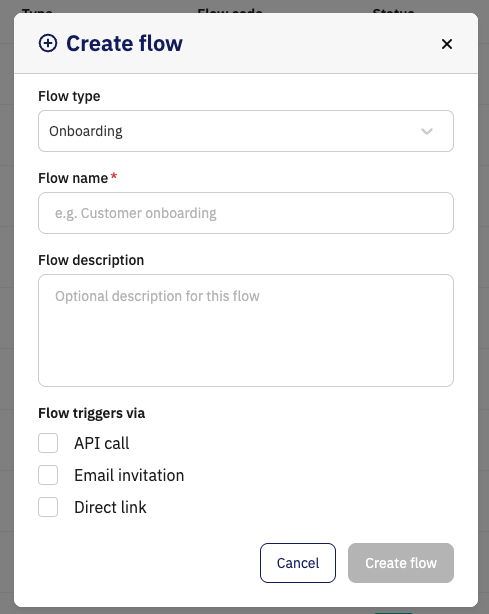
Flow type
Select the type of flow you want to create. You can choose between Onboarding or Background.Flow name
Give your flow a name. This field is required.Flow description
Add an optional description to help your team easily see what the flow is used for.Flow triggers
Select how the flow can be initiated:API call for automated integrations with your own systems.
Email invitation to send direct invitations via email to customers.
Direct link allows you to use a generic link (e.g., on your website) or open the flow directly from the overview.
Create flow
Click Create to save your work and proceed to the Flow Builder
You’re ready to build! Your flow has been created. To start adding modules and setting up your logic, follow our guide here: (Link to building your flow)